Pages

Showing posts with label Halloween. Show all posts

4 November 2017

Meringue ghosts


Boo!

Who wins at pinterest? That's right, I win at pinterest.


So this one doesn't have much of a recipe. All you need to do is make meringues (recipe here), make them a bit bigger and stacked, then use a skewer or something to pull little hands out of the body and bake it as normal, maybe add extra 15-20 min.

Oh, and do yourself a favour and use a homemade piping bag to shape the meringues. I say homemade, because any typical piping bag tip will be quite small and, while you can still make a tall meringue with it, it will just end up looking like a jobby (yup, tried it). What you want to do is use a zip lock bag or something like that and cut a rather large (maybe an inch long) opening in one corner. It's a bit more messy that way but they end up looking much better.

To make the faces, use food colouring gel. I used this, worked pretty well:
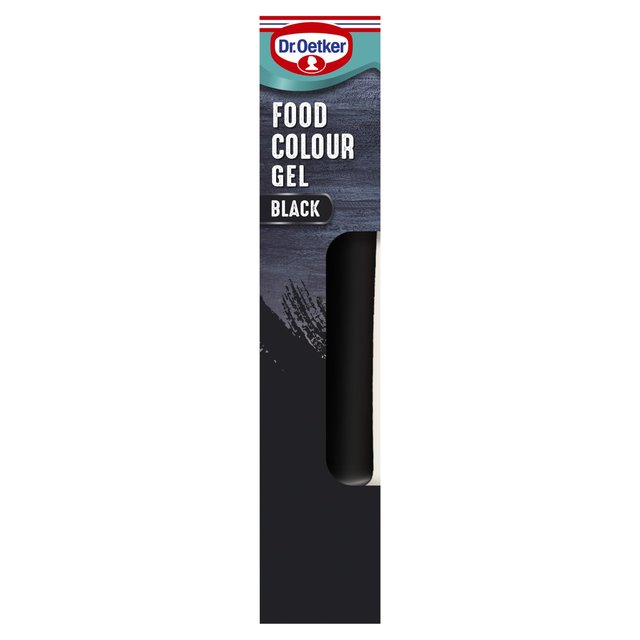
Image result for food colouring gel black dr oetker


20 October 2014

DIY Ghost for Halloween


Really easy and fun to make, regardless of age. :)


You will need:

  • 2 tbsp of starch
  • 500ml + 1/2 glass water
  • cheese cloth (large enough to make 1 ghost)
  • wire
  • a ball
  • a vase/boottle/tall glass for the body (I used a cocktail shaker)
  • 2 small, round bits of black felt or fabric (for the eyes)
  • glue (any type should do - I used a simple glue stick)


  1. Bring 500ml of water to boil.
  2. In the meantime, mix the starch witch 1/2 glass of cold water. Add to the boiling water and mix until it thickens. Once it starts to thicken, take it off the heat.
  3. Leave it to cool until it's safe to touch and dip your cheese cloth in it. Squeeze out any excess. 
  4. Using the ball for head, the wire for arms and the bottle for body, construct a mould for your ghost. Place it on a flat, washable surface.
  5. Spread out the cheese cloth and place it over the ghost mould (see below).
  6. Allow it to dry overnight, then lift the cheese cloth up - this will take a bit of work as it will likely be stuck to the surface. Don't worry though, you don't have to be too gentle with it. It should still keep its form.
  7. Glue the eyes onto the face. And there you go! You've got your very own ghost. :)


Once Halloween is over, if you want to get rid of your ghost you can simply put it under warm running water and wash out the starch to re-use the cloth next year.

Starch should be easily available in any Polish shop or Polish section in a supermarket, but if you can't get your hands on it you can use fabric stiffener instead, which should be available in any DIY shop.


21 September 2014

Can of Worms and Clementine Pumpkins


Here are some of the other treats I made for Halloween last year.

I cut-up strawberry laces, added some crushed Oreos and used the coconut milk can to make a Can of Worms. :) I recommend serving as a topping for sundaes or other desserts. Otherwise it's a bit dry and uninteresting on its own.


Clementine mini-pumpkins! :)


17 September 2014

Malibu Jello Shot Eyeballs for Halloween.


The. Best. Halloween. Recipe. Ever. Totes amazeballs. See what I did there?


Ingredients:

  • Round Ice-cube molds (duh…)
  • 1 tbsp of oil (eg. vegetable or sunflower)
  • 16 gelatin sheets
  • 400ml (1 can) of coconut milk
  • 400 ml of Malibu (chilled)
  • ½ cup of sugar (or to taste)
  • Black food colouring (for pupils)
  • Blue/green/red food colouring (for irises)
  • 1 cup hot water
  • A small dropping pipette (optional – but very helpful and cheap to buy on ebay)

  1. Soak 4 gelatin sheets in cold water for 5 minutes, until they soften. Then transfer them to 1 cup of hot water and stir until they dissolve. Divide it into parts – 1 part of about 50ml, and split the rest into 3 equal parts.
  2. To the 50 ml part, add enough black food colouring to make it dark enough for the pupils. To the remaining 3 parts add your iris colours.
  3. Put a few drops of oil on a bit of tissue or paper towel and VERY LIGHTLY grease the inside of the ice cube molds.
  4. Using a pipette, a drinking straw, or any other means that work, put a drop of the black gelatine at the bottom of each ice-cube mold. Transfer them to the fridge ale leave to set for about an hour.
  5. Once the pupils are set, use the pipette/straw/teaspoon/whatever to add the “irises”. Again, transfer the molds to the fridge and leave them to set (probably a couple of hours).
  6. Once the irises are set, prepare the “whites”. Pour all the coconut milk into a milk pan and heat up. You want it to be quite warm, but not boiling-hot. Just warm enough for the sugar and the gelatine sheets to dissolve easily. Soak the remaining 12 gelatin sheets in cold water for about 5 minutes. Add the sugar and gelatine sheets to the warm coconut milk, and stir until they’re dissolved. If needed, heat up the coconut milk a bit more.
  7. Leave the coconut milk to cool down to room temperature. Once it’s cooled, add the cold Malibu and mix well together – that’s your “whites” mixture ready.
  8. Fill up the remaining space in the ice-cube molds with the coconut milk and Malibu, and carefully transfer to the fridge to set. This will most likely take another couple of hours, but I strongly recommend leaving it overnight.
  9. Just before serving, pop the eyeballs out of the molds.

NB:

- This recipe requires quite a lot of waiting around, so I recommend planning it around the rest of your day. You could also split it over 3 days – make the pupils on day 1, then add the irises on day 2, and fill up the rest with Malibu the day before serving. I wouldn’t recommend making the Malibu part more than a day before serving though, as the alcohol will most likely evaporate.


27 May 2013

Zombie Egg


I saw this idea somewhere online, thought I'd try :) So here I present to you, In the true spirit of Easter, the zombie egg:


11 March 2013

Halloween Pasta


Dubbed the Cthulhu Stew :) A seafood and tomato sauce with squid ink pasta and green pasta, perfect for Halloween.


Ingredients:
  • 1 tbsp olive oil
  • 1 onion , chopped
  • 1 garlic clove , chopped
  • 1 tsp paprika
  • A can of chopped tomatoes
  • 1l chicken stock (from a cube is fine)
  • A mix pack of seafood, could be either fresh or defrosted  I got a selection of bits and bobs from the local fishmonger (few octopi, whole tiger prawns, mussels and squid rings)
  • Tagliatelle Verdi (green) is easy to pick up in any supermarket. The squid ink pasta is much more tricky to come by. If you can't find any, but find a sachet of squid ink, you can always make the pasta from scratch and add the squid ink to make it black - there are plenty of recipes online. Lucky for me, I found the squid ink pasta at Baxter's in Edinburgh for a reasonable price, but Harvey Nichols have a selection as well.

  1. Heat the oil in a wok or large frying pan, then cook the onion and garlic over a medium heat for 5 mins until soft. Add the paprika, tomatoes and stock, then bring to the boil.
  2. Stir in the seafood, cook for 3 mins more until it's all heated through.
  3. If you're adding octopi like me, you may need to simmer them in salty water for around an hour beforehand.
  4. boil the pasta according to the instructions on the packet and serve with "eyeballs" :)

For the eyeballs: I used cherry tomatoes, which I halved and emptied the 'insides', and put mozzarella pearls in them. I made the pupils from fresh basil leaves (I cut out circles with a straw).

I also sliced up a carrot and boiled for a couple of minutes, and carved "pumpkins" out of the slices.


4 March 2013

Pizza Stick Bones


A really cool snack for your Halloween party to nibble on with all sorts of dips and sauces. And it's so simple and easy!


Ingredients:

  • thin and crispy pizza dough mix   OR   a ready rolled thin and crispy pizza base, if you can't be bothered with the mess of kneading.
  • salt


  1. Shape the dough into thin long 'sticks' and attach two balls at each end.
  2. Sprinkle with salt and place on a baking tray lined with baking paper
  3. place in an oven pre-heated to 180 degrees until they're golden brown. I probably kept them in for a bit too long, so some of mine are a bit dark, but they were still tasty and perfectly edible :)


18 January 2013

Chinese Dragon Pumpkin Carving


This was surprisingly exhausting! It will be a while before I attempt that again...


There's not really much of a recipe, but I can give you some tips I guess :)

I used a template - I found it on-line here.

All I did was I printed the template on an A4 sheet of paper, wrapped it around the pumpkin and taped it to keep it in place, and then used a small fruit carving knife to cut out the shapes through the template.

Fruit carving knifes are a useful thing to have if you like playing with food. I got myself a set from Amazon for around £15. They look like this:


If you do use them to carve a pumpkin please be careful, as they're not made for very hard fruit like pumpkin - I managed to break one of mine carving this one...